Solar Module Installation Guide: Techniques, Tools, and Maintenance Tips
- Sep 5, 2025
- 5 min read

Solar energy is becoming one of the most popular ways to power homes and businesses. With rising electricity costs and growing concerns about the environment, many people are turning to solar modules, also called Solar panels Module Installation Near Me , as a reliable and clean energy source. However, the success of your solar energy system depends greatly on how well the modules are installed.
A good installation ensures that the system produces the maximum amount of electricity, operates safely, and lasts for many years. On the other hand, poor installation can lead to energy loss, system failures, or even safety hazards. In this guide, we will explain the techniques, tools, and maintenance tips you need to know for proper solar module installation.
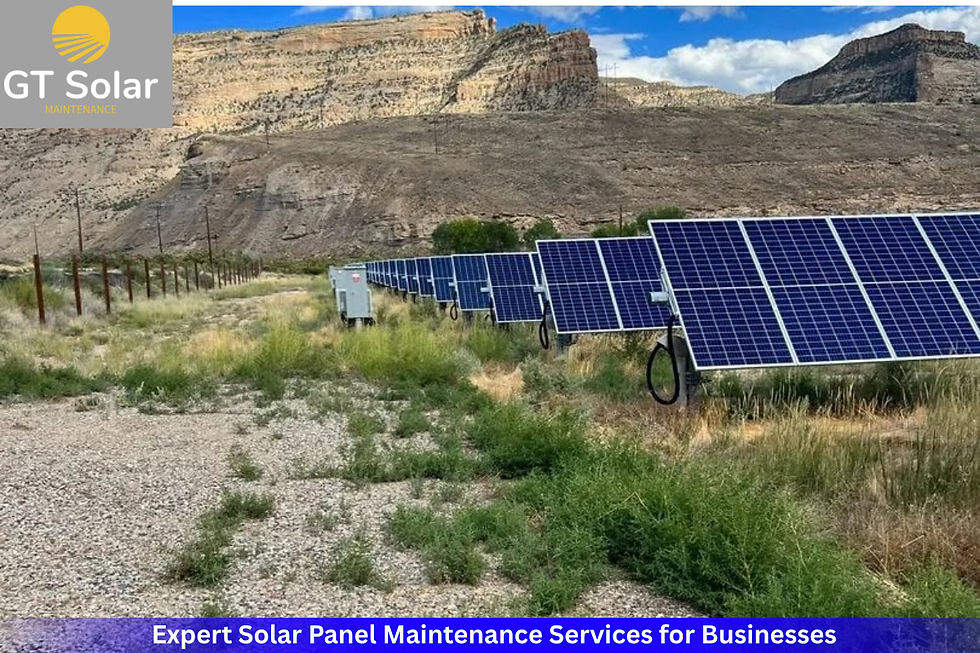
Why Solar Module Installation is Important
The main goal of solar modules is to capture sunlight and turn it into electricity. If they are not installed correctly, panels may not receive enough sunlight, or the wiring may not work properly. This can reduce the efficiency of the system and cost you money in the long run.
Correct installation also protects your investment. Solar panels can last more than 25 years, but only if they are installed with care. A strong mounting system ensures they stay secure during heavy winds and storms. Safe electrical connections prevent fire hazards and keep your system running smoothly.
In short, professional or well-guided installation ensures that your solar system produces the energy you expect, keeps your home safe, and lasts for decades.
Best Time for Installation
Solar modules can be installed at any time of the year, but certain conditions make the process easier and safer. Clear, dry weather is the best time for installation because it reduces risks of slipping or damaging equipment. Many homeowners prefer spring or summer because of the longer daylight hours, but fall can also be a good option since the temperatures are not too high.
If you live in an area with heavy snow or rain, plan your installation during a season with mild weather. Choosing the right time ensures not only safety but also helps the system start operating at peak performance from day one.
Tools and Equipment Needed
Installing solar modules requires both basic and specialized tools. Here are some of the most common:
Mounting brackets and rails – These hold the panels in place on the roof or ground.
Drill and screws – For securing brackets and rails.
Measuring tape and level – To make sure panels are aligned correctly.
Wire cutters and connectors – For safe and accurate wiring.
Inverter – Converts direct current (DC) from the panels into alternating current (AC) for your home.
Safety gear – Gloves, helmet, safety harness, and ladder for rooftop work.
Optional tools – A multimeter for testing connections, and long-handled tools for ground installations.
Having the right tools ready before starting makes the job faster, safer, and more accurate.
Step-by-Step Installation Techniques
1. Site Assessment
Before starting, check where your panels will be placed. The location should get direct sunlight for most of the day. South-facing roofs are ideal in the northern hemisphere, while north-facing roofs work better in the southern hemisphere. Avoid spots with shading from trees, chimneys, or nearby buildings.
2. Mounting System Setup
The next step is installing the mounting brackets and rails. These must be attached securely to the roof structure or ground frame. A level is important to ensure that the panels sit straight, which improves both appearance and performance.
3. Placing the Solar Modules
Carefully place the solar modules on the mounting rails. Secure them with the provided clamps or fasteners. The panels should be tilted at an angle that matches your location’s latitude for maximum sunlight absorption.
4. Electrical Wiring
Connect the panels using the proper connectors. Panels are usually wired in series or parallel depending on the system design. The wiring must then be connected to the inverter, which changes the DC energy from the panels into AC energy for home use.
5. System Connection
Once all panels are connected to the inverter, the system is linked to your home’s electrical panel. This step must follow local electrical codes and safety rules. In many areas, only licensed electricians are allowed to complete this part.
6. Testing and Inspection
Finally, test the system to make sure it is working correctly. Use a multimeter to check voltage and output. Inspect all wires, brackets, and modules for safety and stability. Many installations also require a professional inspection from local authorities before being turned on.
Safety Precautions
Safety should always be the top priority during installation. Working on rooftops involves risks, so wearing proper gear such as harnesses, helmets, and non-slip shoes is essential. Electrical work should never be rushed. Always double-check wiring and connections before powering on the system.
If you are not comfortable with heights or electrical systems, hiring professionals is the best choice. While do-it-yourself installation can save money, professional installers bring experience, safety training, and knowledge of local regulations.
Maintenance Tips for Long-Term Performance
Once your solar modules are installed, keeping them in good condition is important. Here are some simple maintenance tips:
Regular Cleaning – Dust, dirt, and bird droppings can lower efficiency. Cleaning every few months helps maintain performance.
Check for Damage – Inspect your panels for cracks, broken glass, or loose wires.
Trim Nearby Trees – Ensure that growing branches do not block sunlight.
Monitor Output – Keep track of energy production with a monitoring app or system. Sudden drops in output may mean cleaning or repairs are needed.
Schedule Professional Inspections – Once a year, have a solar expert check your system for electrical or mechanical issues.
Good maintenance not only increases the lifespan of your panels but also ensures that you continue saving money on electricity.
Common Mistakes to Avoid
Poor Placement – Installing panels where there is shade reduces efficiency.
Wrong Angle – Panels not tilted correctly may lose significant energy.
Loose Mounting – Weakly secured panels can move or break in strong winds.
DIY Electrical Errors – Incorrect wiring is dangerous and may damage the system.
Ignoring Local Rules – Some areas require permits or inspections before activation.
Avoiding these mistakes ensures a smooth installation and long-lasting performance.
Conclusion
Solar module installation is a valuable step toward energy independence, lower utility bills, and a cleaner environment. With the right tools, techniques, and careful planning, you can enjoy reliable solar power for many years. While basic steps can be done by homeowners, working with professionals guarantees safety and maximum efficiency.
By investing in proper installation and following simple maintenance tips, your solar system can last for decades and provide continuous benefits. Clean energy from the sun is not only good for your home but also for the planet.


Comments